Blender Tutorials
Tips and Tutorials for Blending with Cycles
~~~~~~~~~~~~~~~~~~~~~~~~~~~~~~~~~~~~~~~~~~~~~~~
Blender 2.65 Tutorial - Understanding the holdout shader
[Blender 2.65] Cycles tutorial - Understanding the
Holdout Shader
Holdout Shader
Prerequisite: This article assumes basic knowledge of Blender's Cycles - It does not give an introduction to Cycles - There are plenty of very good tutorials available for that.
Among the many interesting shaders presented by Cycles Material nodes is the holdout shader.
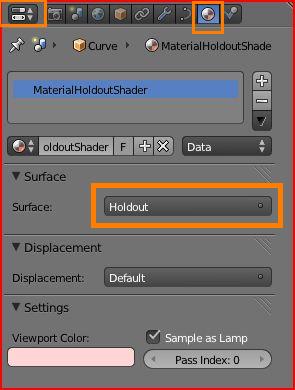
1. Add new material to an object. You might have to click on use nodes, if this is the first material you're adding to your project.
2. Select 'holdout' from the shader drop down list, or
Go to node editor, shift a to add new node, go to input -> shader -> holdout, connect the output socket of holdout shader to input socket of material output.
What does 'holdout' refer to?
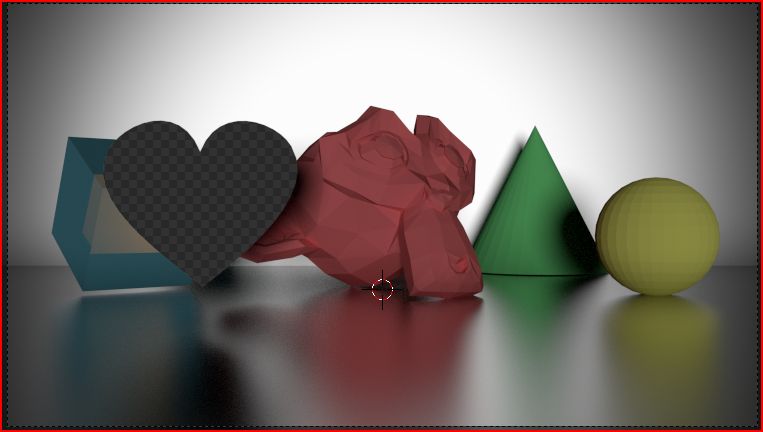
Holdout material, as the name suggests, holds out the surface from being exposed to the camera - and will dig in deep through other surfaces too - thereby creating holes in the image. It means that neither the object would be rendered, nor the background - not even other objects which are behind the object with holdout material - instead the area covered by the object will be transparent. In other words, the image would contain areas with alpha channel for all places where objects with holdout shader are lying. For example, in the image below, the heart digs a hole right through the head of the monkey and cube along with the background.
(About the image - The image is a screenshot after 1039 samples in rendered view with clamping value set to 0.98)
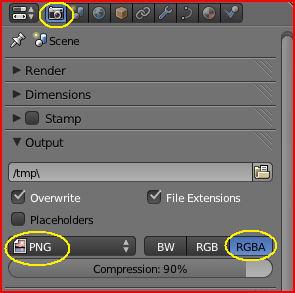
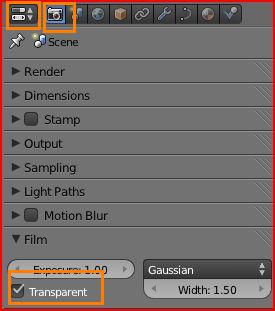 Note that this alpha channel activation would be dependent on the overall render settings. If the rendered output format does not support alpha, or if the 'Transparent' option is not enabled in the exposure settings, then a instead of transparent holes, black shadeless spots would be visible in place of objects having material with transparent shader.
The holdout shader has many interesting uses. It is similar to the background shader in Maya. It can be used for general masking requirements, and also for interesting compositing results like rendering 3d objects over a 2d image. The holdout shader can be applied to a material of plane on which the 3d objects can be placed to generate shadows. If this plane is properly aligned with the floor or any other surface in the image, the shadows would give quite a realistic touch to the 3d objects' placement in the scene.
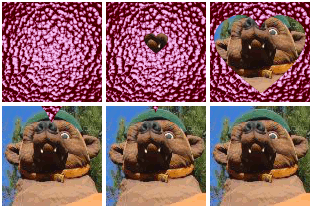
The objects animated with material having holdout shader can also produce cool and handy results. A valentine heart, for example, can be made to show an ever growing hole of shape of a heart making the image below gradually visible.
Hope this helps to ignite some new ideas for your valentine projects this year.
Happy blending, merry cycles.
